

let's talk tissue paper...
those of you who know me well, know that i adore tissue paper. it's so fun to work with and i feel the creative possibilities with it are endless. whenever i stumble across a package of tissue that inspires me, i grab it up - right then. (i'm also a little obsessive about saving all of the tissue paper from gifts/gift bags...it's just such a waste to throw it out).
anyway, when i saw the cool tissue paper pompoms from martha i definitely wanted to incorporate them into ella's party. my intitial thought was to do the oversized hanging ones - just above the dessert table. however, i ended up turning them into flowers instead. i LOVE them and wanted to share the "how" to...
(yes, martha has a tuturial as well but i was a little confused by some of it and had to tweak things a bit...hopefully this will help anyone else out there who have already tried their hands at this and was disappointed).
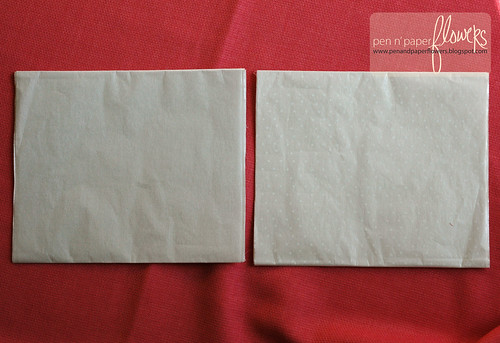
first you need 18"x23" tissue paper. (8 sheets of tissue)
i found this at target and fell in love with it because of the polka dots and it was creamy white...perfect.

slide the packaging band off the bundle of tissue paper & just cut the entire bundle in half.
(using a rotary cutter ensures a nice smooth cut vs. using scissors)
unfold one of the 1/2's completely and proceed to cut it in 1/2 as well.
(and then do the same thing with the 2nd half).
you'll be able to make 4 flowers (approx. 6" across) from one package of 18x23 tissue paper.
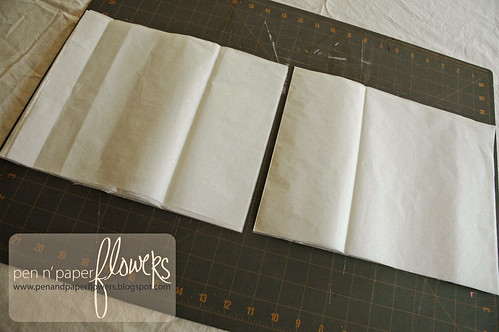
you now have 4 stacks of tissue paper.
you'll do the following steps to each stack of tissue paper - depending on how many flowers you need.
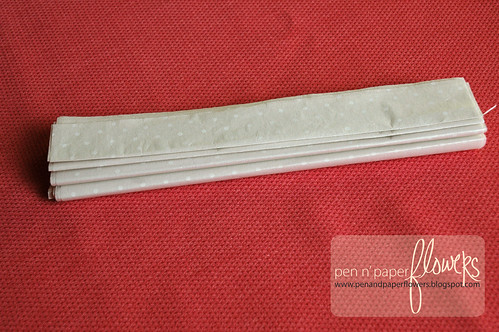
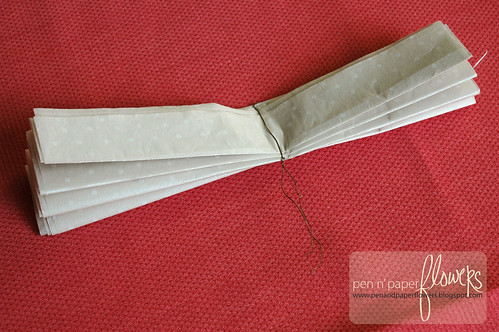
it's time to accordian fold.
for best results,
#1:make sure your tissue is stacked nice & neat.
#2: use a bone folder to ensure a good crease.
now get some floral wire and twist it around your accordian-folded tissue paper.
grab your scissors and round the ends of the tissue.
(you can even choose to "point" the ends instead for a different look).
here's one end done.
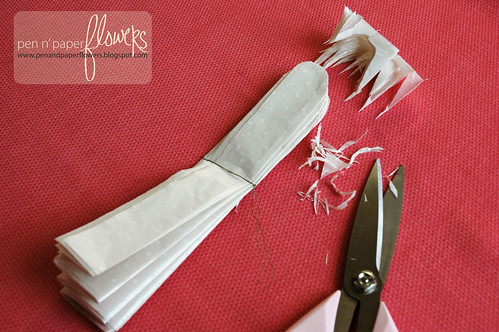
IMPORTANT DETAIL
one thing i learned is to make sure you round the ends starting at least 3/4" down.
this allows the "petals" you end up with to be more defined.
otherwise your rounded ends will look "scalloped" instead of "petal-like". make sense?

okay. both ends have been rounded and i've fanned them out a little bit.

i found it easiest to grab the underside of the flower like so...
your fingers in each of the creases...
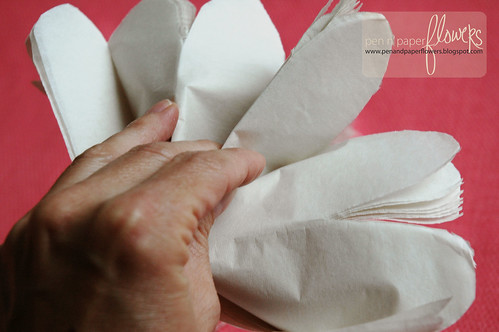
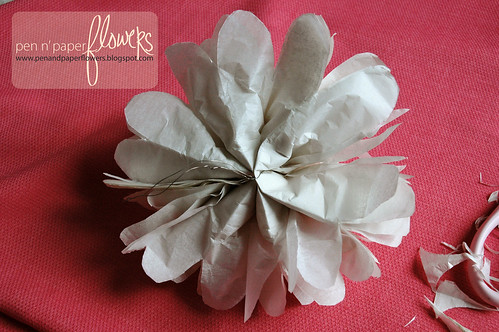
it's time to pull the layers on top toward the middle.
you must do this carefully because tissue tears EASILY.
here's one layer done.

here's all of the layers done on one side. cute, huh?
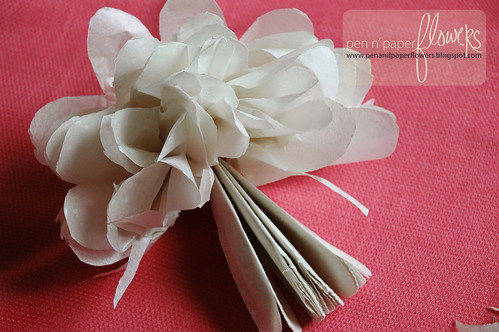
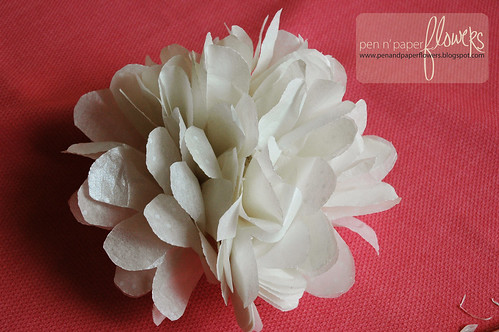
now both sides...adorable. ta dah!!!
fluff & pull and fluff & pull until you get it just the way you want it.
but wait...this flower needs a stem.
(or you could hang them if you choose).
take your twisted wire located on the bottom of your flower...
grab a wooden dowel or do what i did...
i used a wooden kitchen skewer i already had on hand.
it's got a nice pointy end just incase you need to actually "stick it" into something.

start twisting the wire around the top of the wooden skewer/dowel...like so:

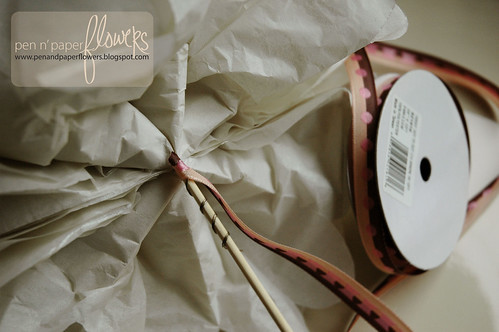
next, grab your choice of ribbon & your pre-heated glue gun.
dab a little glue to the very tip of the dowel/wooden skewer,
right underneath the flower, adhere ribbon then wrap the ribbon all the way down.
leaving about 1 to 2 inches of the skewer/dowel exposed for easier "sticking"
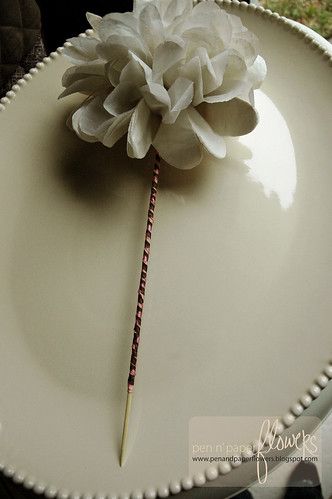
voila...one flower completely done.
and here's a grouping of 3 i stuck in a carafe of jelly bellies....

you can experiment and come up with different sizes too.
the color tissue paper you choose & whether you cut the ends round or pointy will give you a variety of results...
hope you found this helpful..& if you try this i encourage you to share your results with us here...
hope you found this helpful..& if you try this i encourage you to share your results with us here...
didn't want to post 2 "tutorial-type" posts back-to-back but if anyone wanted to try to incorporate this into their thanksgiving table i knew i'd better post it sooner vs. later.
good monday to all of you.
3 comments:
I have seen these flowers and love them -- I need to figure out an occasion to make them! I've enjoyed seeing all of your posts leading up to Ella's party. So cute and very sweet for such a cute and sweet baby girl!
so cute!! Thanks for posting this!!
I love these, they are perfect, thanks for the tutorial!
Post a Comment